This article is part of the article serie
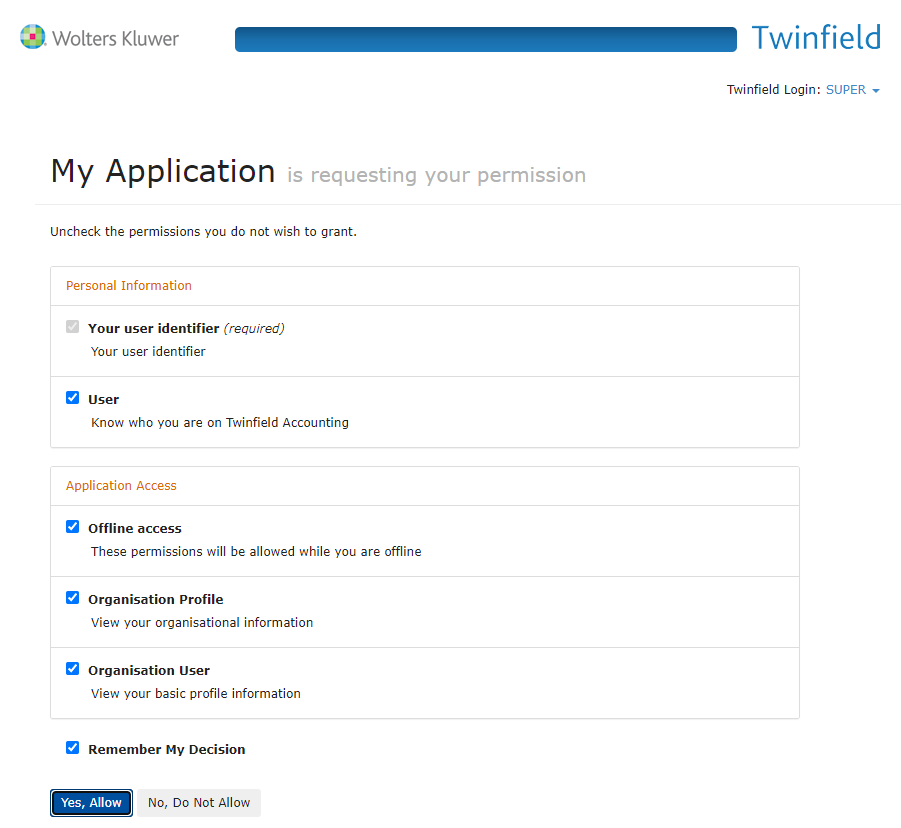
Setting up OAuth 2.0 - IntroductionIn this step you have to ask the end user for permission to use his/her Twinfield account. You can do this by sending the end user to Twinfield's login screen. After the end user has logged in he/she will be asked to grant you permission. This screen looks like this:
 Good to know:
 Please read this article to determine whether you need to use the authorization code flow or the implicit flow:
Difference between authorization code flow and implicit flowImportant: If you configured your client ID for the authorization code flow you can only use response_type=code in your url below. For the implicit flow you can only use response_type=id_token+token. If you use both flows for your application, then you'll need to create a seperate client ID for each flow.
You need to create a special url for asking the end user for permission. If your application has a button that says Connect to Twinfield, then you simply have to open this url in the browser of the the end user when he/she clicks on it.
https://login.twinfield.com/auth/authentication/connect/authorize?client_id=myapplication&redirect_uri=https://mylistener.twinfield.com&response_type=code&scope=openid+offline_access+twf.organisation+twf.organisationUser+twf.user&nonce=your-nonce&state=your-state
When we take a look at the url we see the endpoint:
https://login.twinfield.com/auth/authentication/connect/authorize
Followed by a question mark (?) and six parameters:
- client_id
- redirect_uri
- response_type
- scope
- nonce
- state
The table below gives an explanation about how to use each parameter.
| Paramater________ | Explanation |
|---|
| client_id | Twinfield wants to know who is asking the end user for permission. To identify yourself, enter the client ID that you chose in the previous step. Read this article if you haven't registered a client ID yet: Register a client ID for your application |
| redirect_uri | Enter the redirect url that you chose while registrering your client ID. If you use another redirect url than the one you registered, you will receive an error. Read this article if you haven't registered a redirect url yet: Register a client ID for your application |
| response_type | If you're using the authorization code flow use this value: code
If you're using the implicit flow use this value: id_token+token |
| scope | Scope means permission. The more scopes you add, the more permissions you request from the end user. You can use the scopes below. Use a plus sign (+) to add multiple scopes. For example: openid+offline_access+twf.organisation
Tip: If you're using the authorization code flow then these scope will be sufficient in most cases:
openid+offline_access+twf.organisation+twf.organisationUser+twf.user
Tip: If you're using the implicit flow then these scope will be sufficient in most cases:
openid+twf.user+twf.organisation+twf.organisationUser
Good to know:
- Note that the twf.organisationUser scope is mandatory in order to login.
- When adding the twf.user scope add the openid scope as well.
- In order to use refresh tokens you need to request additional offline_access scope.
openid
Specifies the information returned about the authenticated user.
offline_access
Use this scope for the authorization code flow. If you add this scope and the user grants you permission, you will be able to request a refresh token that you can use to gain unlimited access to the end users account for the next 25 years.
twf.clusterUrl
URL of cluster on which organisation is located
twf.id
Contains GUID of Twinfield ID. Only if you have the availability of a Twinfield ID.
twf.organisation
An explanation has not yet been added to the documentation.
twf.organisationCode
Code of organisation
twf.organisationID
GUID of organisation
twf.organisationUser
Note that the twf.organisationUser scope is mandatory in order to login.
twf.organisationUserCode
User code inside organisation. (used for login)
twf.user
When adding the twf.user scope add the openid scope as well. |
| nonce | The nonce is a string that could look like 1234567890abcdefghij. It's a random string that is uniquely generated for each request. It allows Twinfield to verify that your request has never been made before. Make sure you use a different and random nonce each time you ask an end user for permission. This is needed for OpenID connect protocol purposes. |
| state | The state is a string that could look like 1234567890abcdefghij. It's like a password that you give to Twinfield. When Twinfield gives you a reply it will send along this state so you can verify that your reply was sent by Twinfield. This is needed for Oauth2 authentication protocol purposes. |
See the screenshot at the top of this article in which the end user is asked to grant you permission. As soon as the end user clicks on the button Yes, Allow he/she is redirected to a webpage.
So to which webpage will the end user be redirected? That's up to you. You decide to which website the end user is redirected by using the parameter redirect_uri. It's important that you have registered this redirect url in the previous step:
Register a client ID for your applicationAfter the end user clicks on Yes, Allow, Twinfield will open a url in his/her browser. This url can look like this:
https://mylistener.twinfield.com/?code=1234567890state=1234567890abcdefghij&session_state=1234567890abcdefghij
When we look at this url we see the redirect url that you registered in the previous step:
https://mylistener.twinfield.com/Followed by a question mark (?) and these parameters:
The table below gives an explanation about how to interpret each parameter.
Good to know: The authorization code flow and the implicit flow give back different parameters in the url. The table below gives an explanation of all the parameters that you can receive while using the authorization code flow and the implicit flow.
| Parameter___________ | Explanation |
|---|
| access_token | You will only find this parameter in the url when you use the implicit flow. After you receive permission from the user you will immideatly receive an access token. This token will be valid for 12 hours. |
| code | You will only find this parameter in the url when you use the authorization code flow. The code that Twinfield gives you is called an authorization code. It's valid for only 5 minutes. You will need it when you're requesting a refresh token. |
| expires_in | You will only find this parameter in the url when you use the implicit flow. This shows after how many seconds the access token will expire. The default value is 43200 seconds. This is 12 hours. |
| id_token | You will only find this parameter in the url when you use the implicit flow. It will show the id of the token. |
| scope | You will only find this parameter in the url when you use the implicit flow. It will show you the scopes for which the end uses gave you permission. |
| state | Twinfield will mention the state that you send along in your url when you asked the end user for permission. It's just for your information. |
| session_state | Twinfield will mention its own session state. This is just for your information and you can ignore it. |
| token_type | You will only find this parameter in the url when you use the implicit flow. This will show you the type of the access token. The default value is Bearer. |
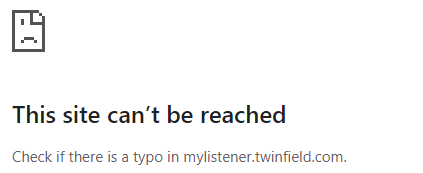
Make sure the redirect url that you have configured has a decent landing page or else the user will see an error like the screenshot below. It’s important that your landing page saves the authorization code that Twinfield sends along in the url. You will need it in the next step.
Tip: Use a landing page that returns the end user to your application. Technical things like authorization codes and access tokens should be invisibile to the end user.
If you use the authorization code flow your next step will be:
Request a refresh tokenIf you use the implicit flow your next step will be:
Send a request